STOP car scratches and wash your car the right way!
Without even knowing it, you’re probably creating new car wash scratches every week. Let’s put an end to that. Here’s our step-by-step, start-to-finish process to make you a pro at safely washing and maintaining your car without swirls!
1
Preparation & Inspection
Find the perfect spot in the shade.
2
Wheel wash
Rinse and clean rims & tires, scrub wheel wells, then rinse again.
3
Prewash
Insect remover on the dirty parts, then foam completely & rinse thoroughly.
4
Shampoo
Put on your wash mitt, get 2 buckets ready, wash from top to bottom.
5
Drying
Blot, drape or fold with a drying cloth or blow dry with a car dryer.
6
The finishing touches
Quick detailer, glass cleaner & tire dressing.
01 | Preparation & Inspection
Find the perfect washing spot. This is ideal:
Shade, no direct sun
Protection against wind and dust
Quick and easy access to water & electricity
Stable surface for comfort, especially if you have a pressure washer!
Lay out your products, connect your hoses, pressure washer and/or dryer. Be careful with the setup, you will thank yourself later.

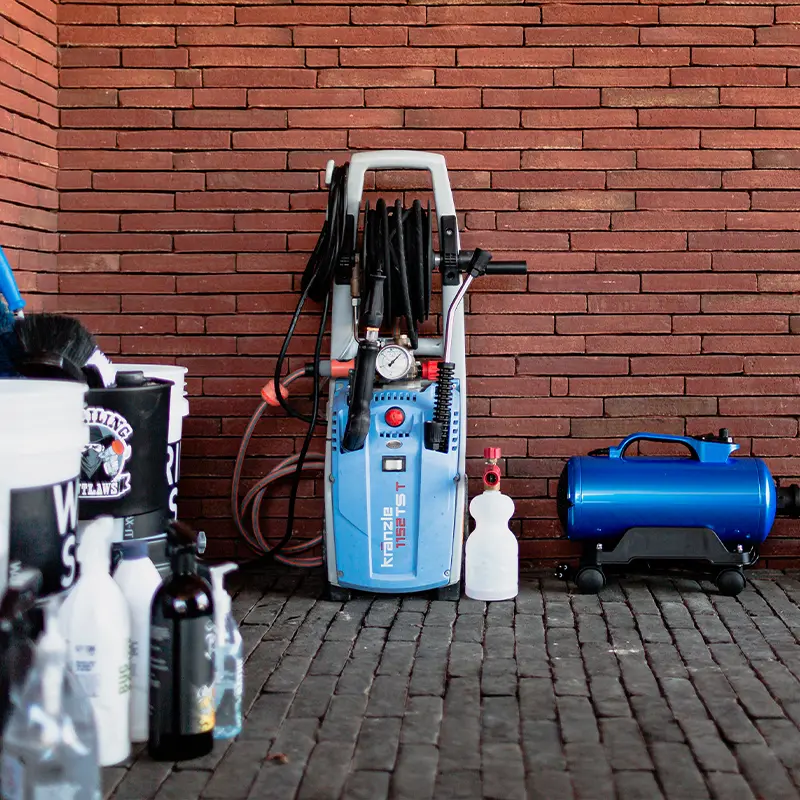

Quickly inspect the car and check your product lineup to make sure you have everything you need to finish it off. There’s nothing worse than having to go searching for that one product mid-wash.
Check the car for the following:
Dried insects, bird remains, tree sap, fly rust or tar, dirty wheel arches or other noticeable things.
If there's anything that requires more attention, be prepared - remember, we definitely don't want to scrub the paint!

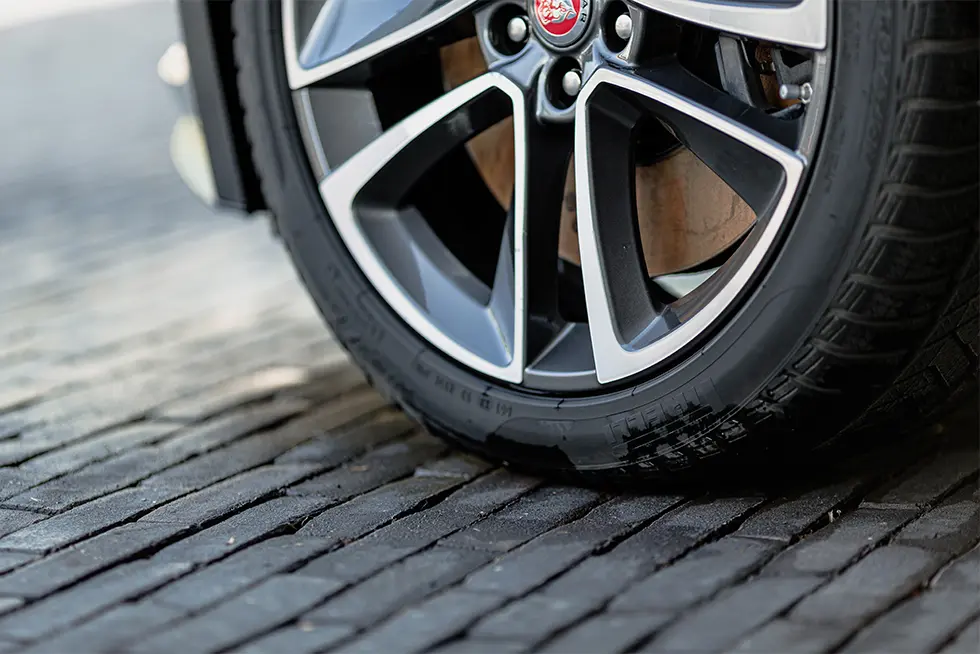
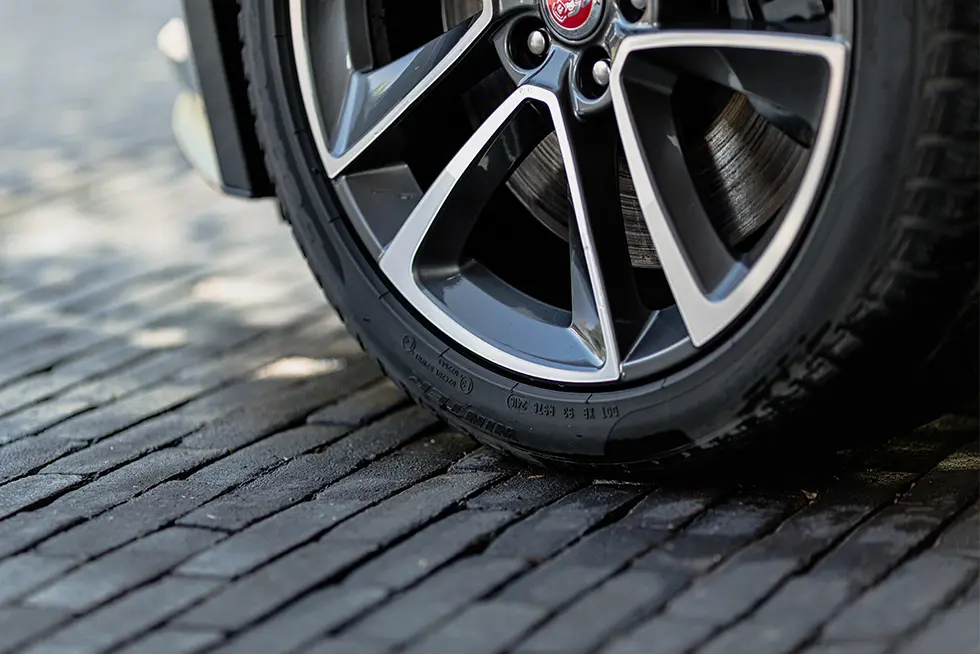
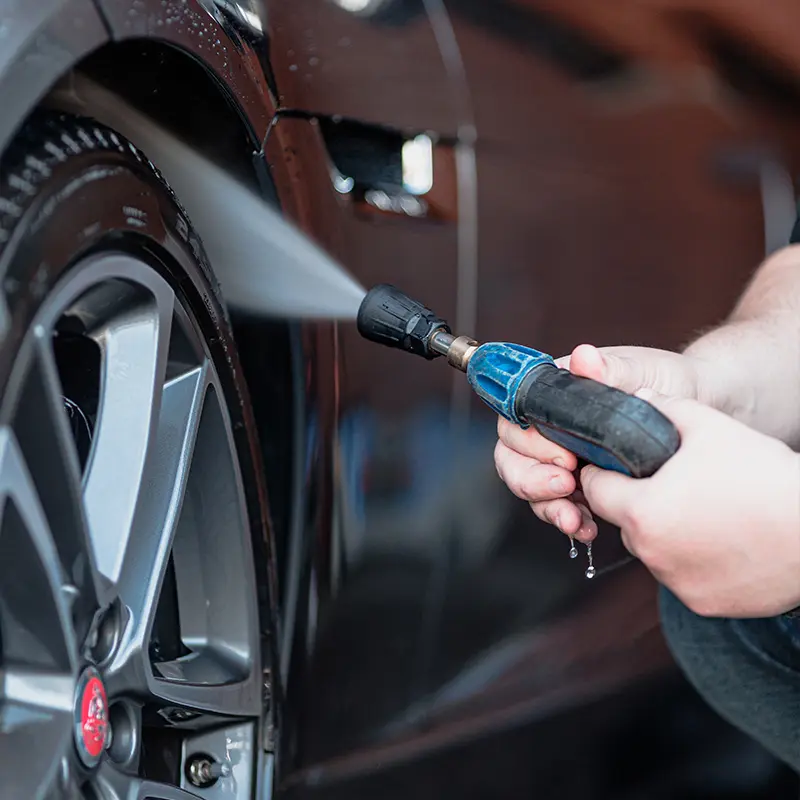
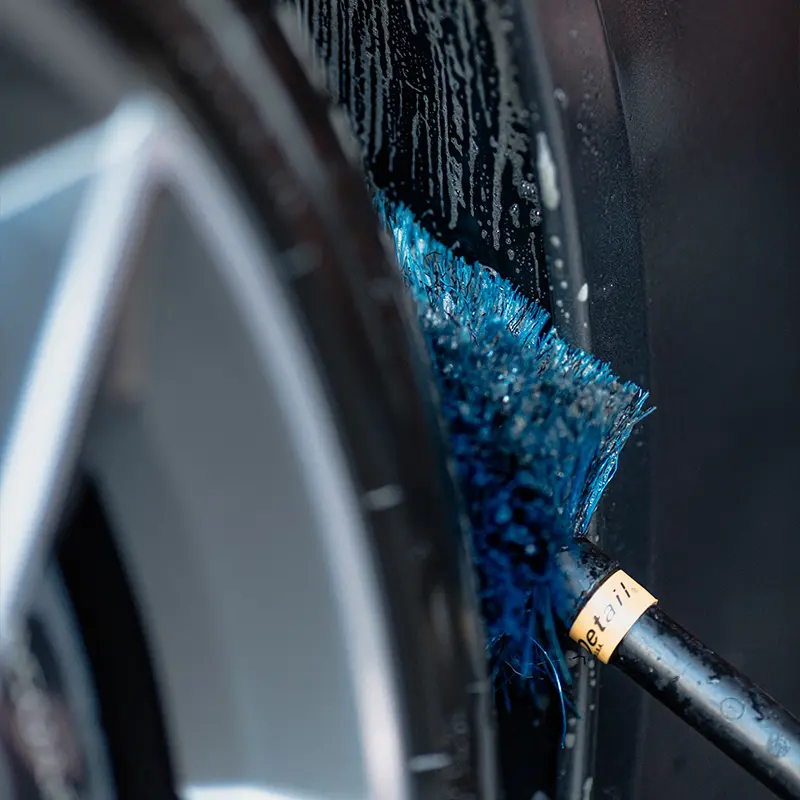
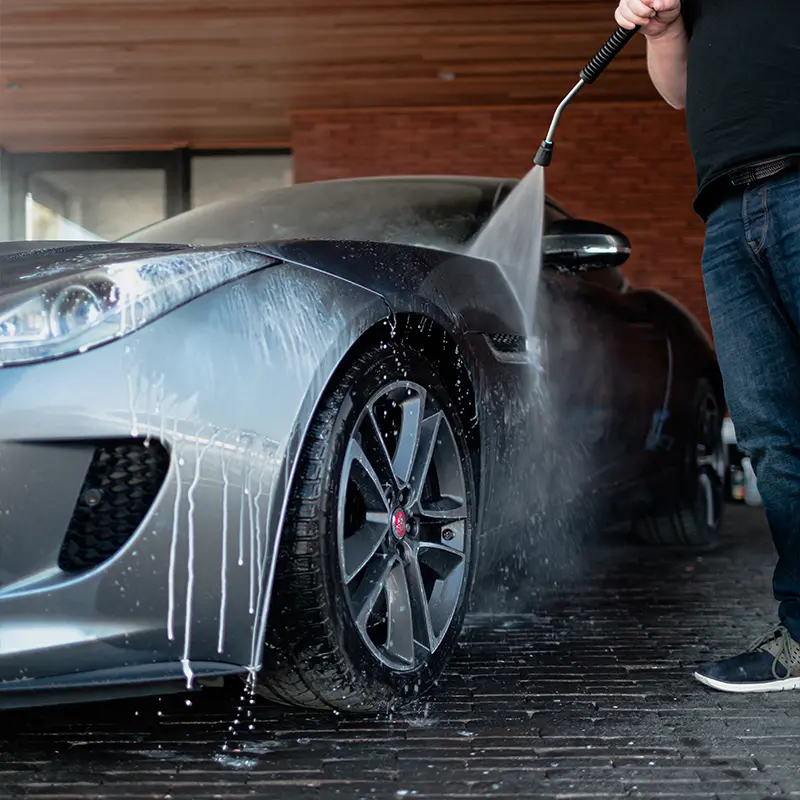
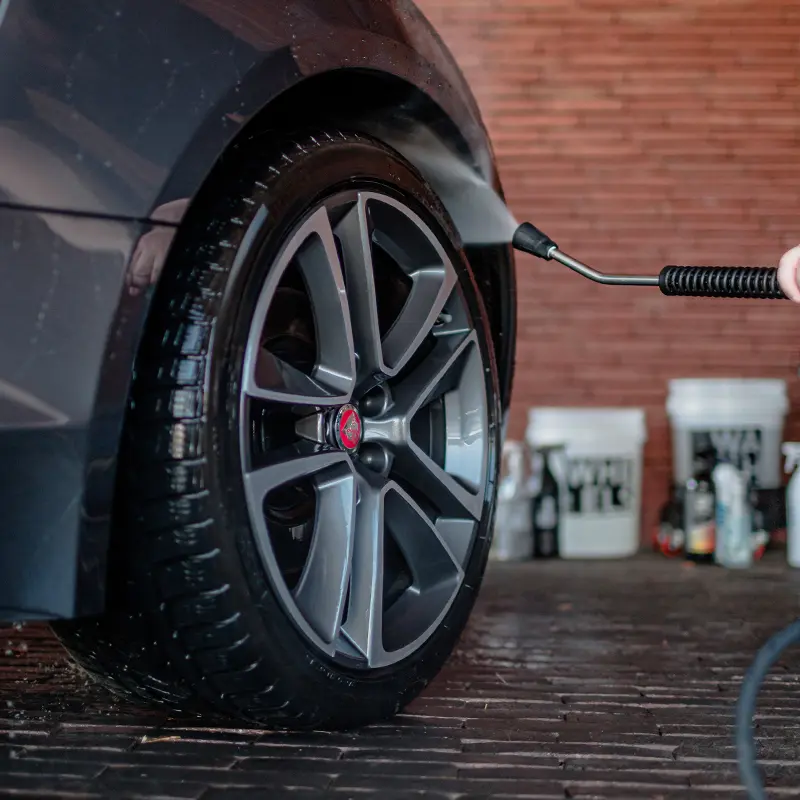
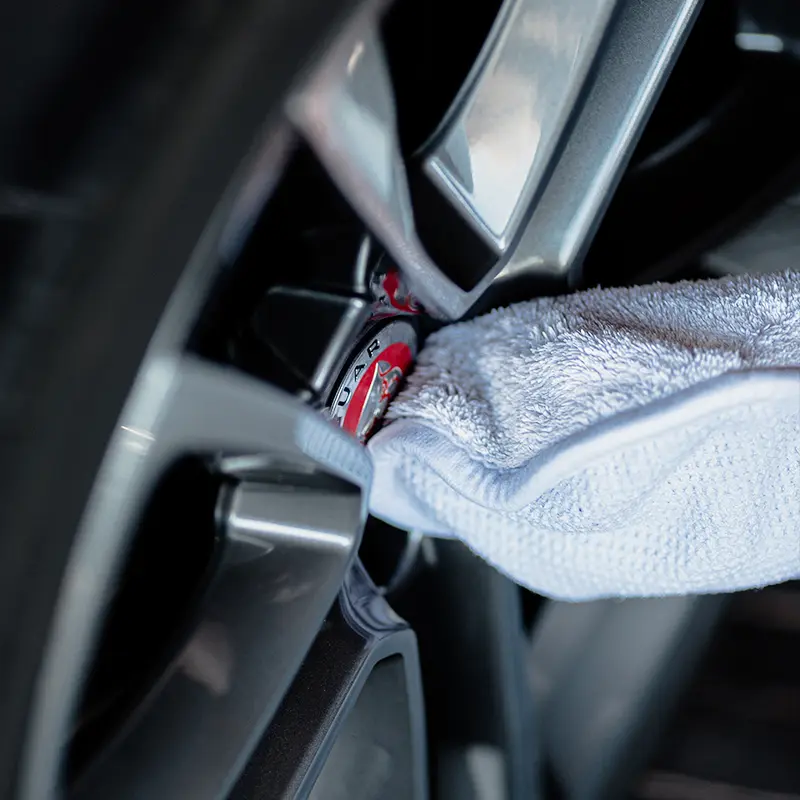
02 | Wheel wash
Rinse the tires, rims and wheel arches.
Clean with a mild wheel cleaner/wheel soap, getting as much detail as possible.
Spray some bug & grime remover in your wheel wells. Spray, scrub with a wheel brush, let it sit, then rinse away. You can now rinse the entire wheel, wheel wells, and surrounding paintwork in case any dirt gets on them. Or you can leave this for the pre-wash step.
If necessary, you can use a strong rim cleaner or an iron remover for an even better result. However, this is not necessary every wash.
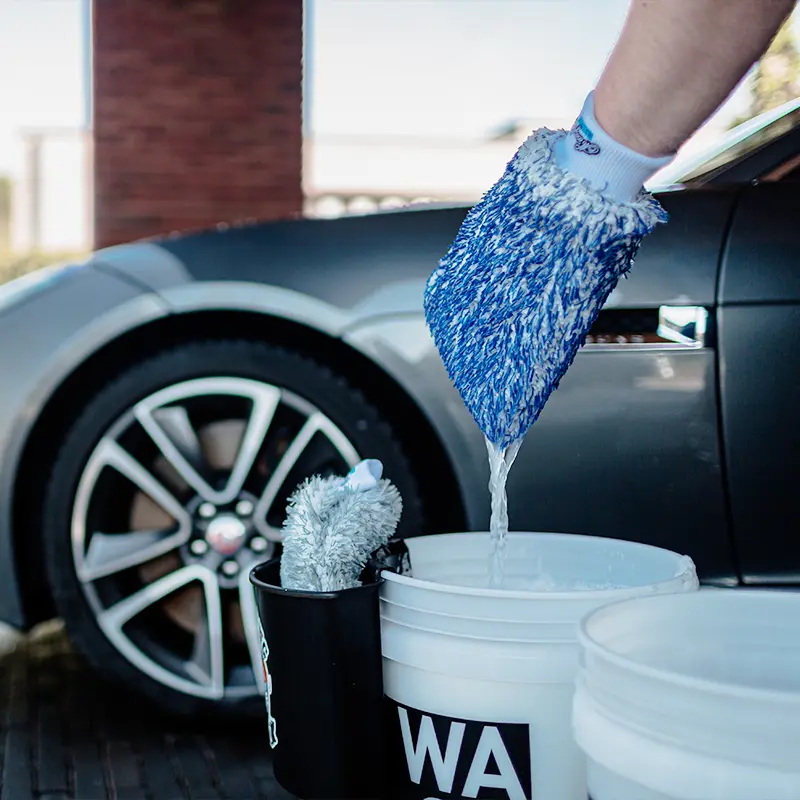
Pro Tips: Use a separate bucket for wheels - We can't stress this enough, keep brake dust and other grime off your paintwork! Wheel brushes, gloves, and detailing brushes are also great for getting in and behind the spokes of your rims.

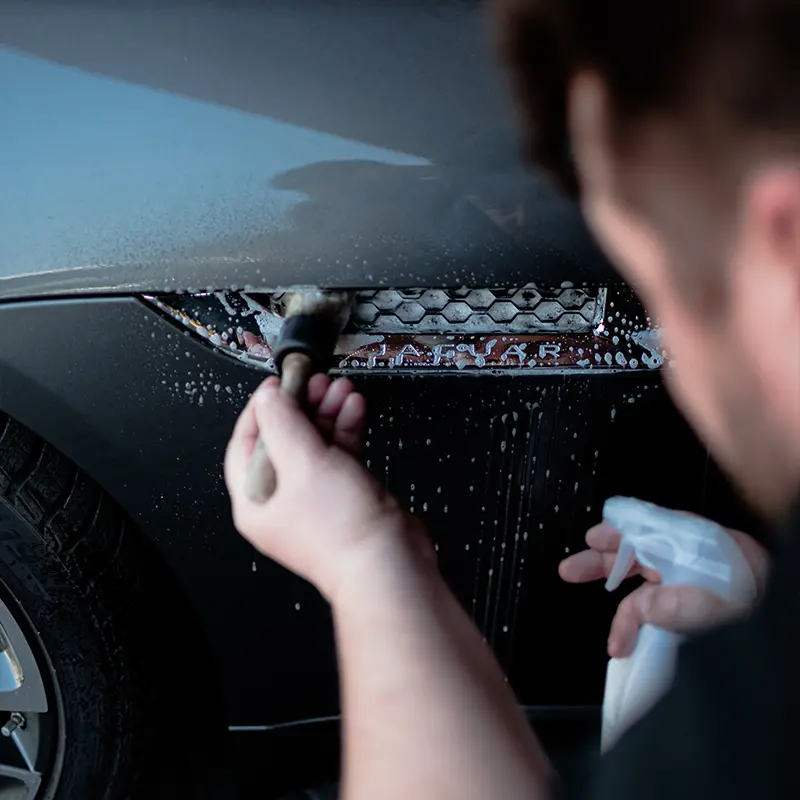
03 | Prewash
Remove most of the dirt before touching the car.
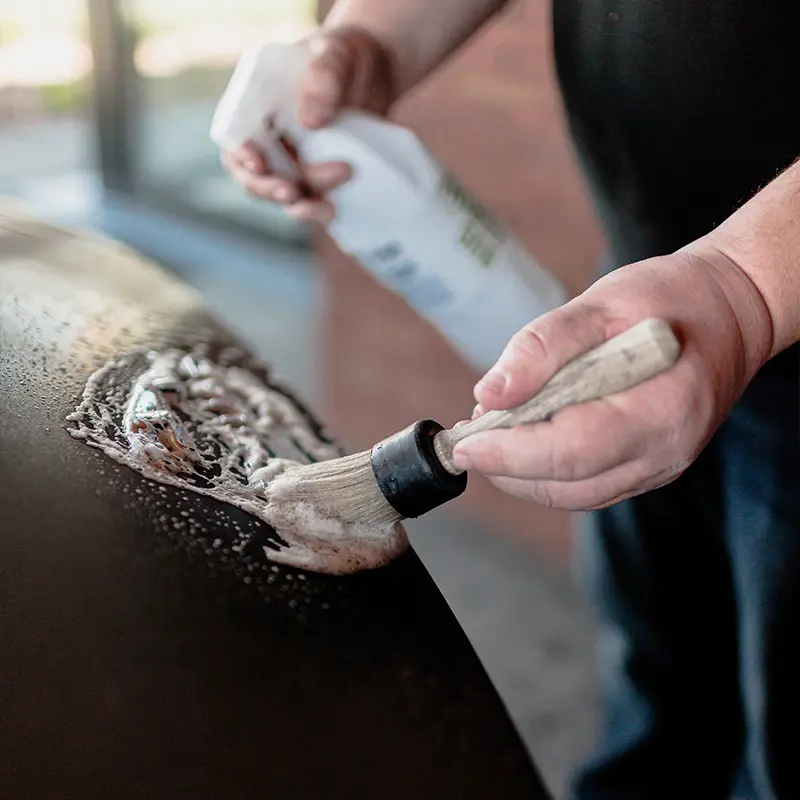
Spray insect remover on nose and mirrors, let it work and rinse. (optional)
Foam the car, let it soak and rinse. Soaking time usually ranges from 5-15 minutes. (optional)
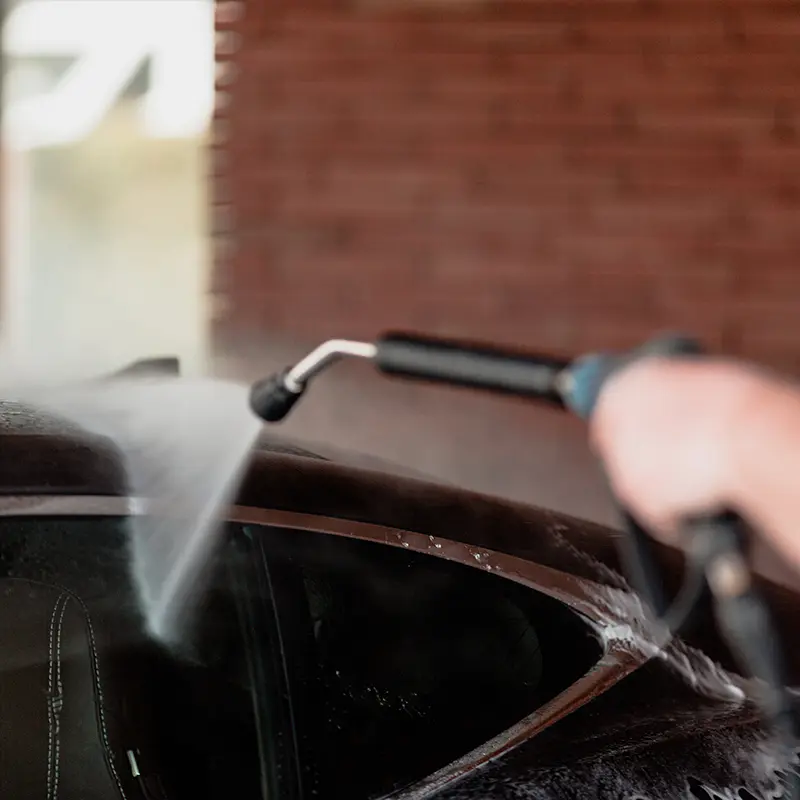
Rinse the car thoroughly, every panel and every detail. Even if you don't use bug remover or foam, rinse anyway.
Don't forget to thoroughly clean the wheel arches, air intakes and any other parts or details.
Pro Tips: Use a detail brush to clean details like hood scoops, logos, and grilles. Work gently in circular motions, don’t overdo it, and do your best to avoid the paintwork. The detail brushes are soft, but we’re still pre-washing, so there’s a lot of sand and dirt all over the car.

Pro Tip: Rinse from the top down! Spray the dirt and grime down to the floor, starting at the roof. Use a pressure washer if you have one, here's why you need one: High Pressure Cleaner Benefits and Tips.
FOAMING: By far the best & safest method. Of course we know you may not have your own pressure washer and foam lance. This step has great benefits so if you are interested you can take a look at some pressure washers & foamlances.
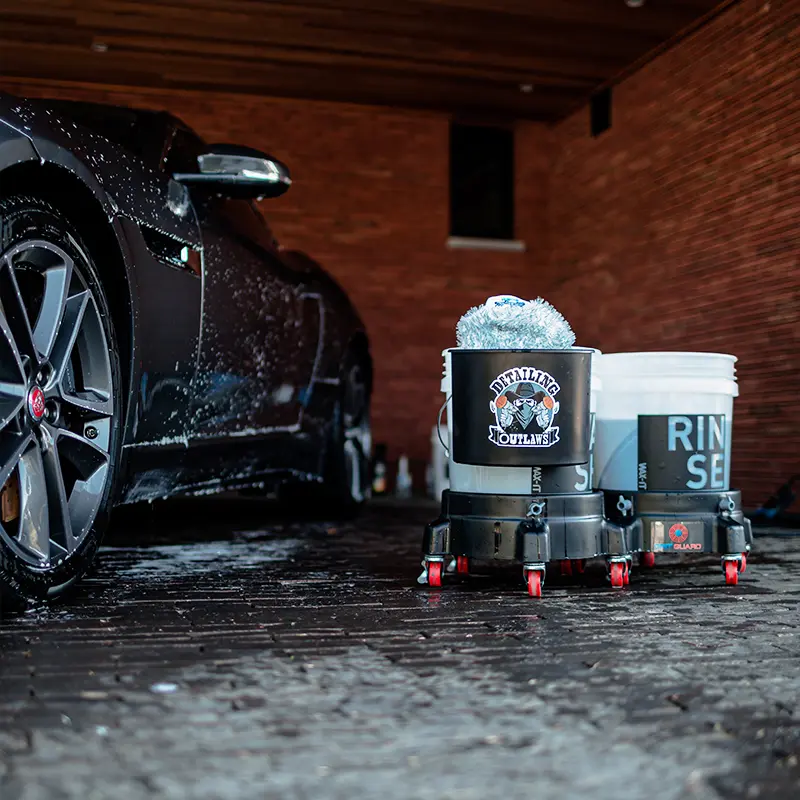
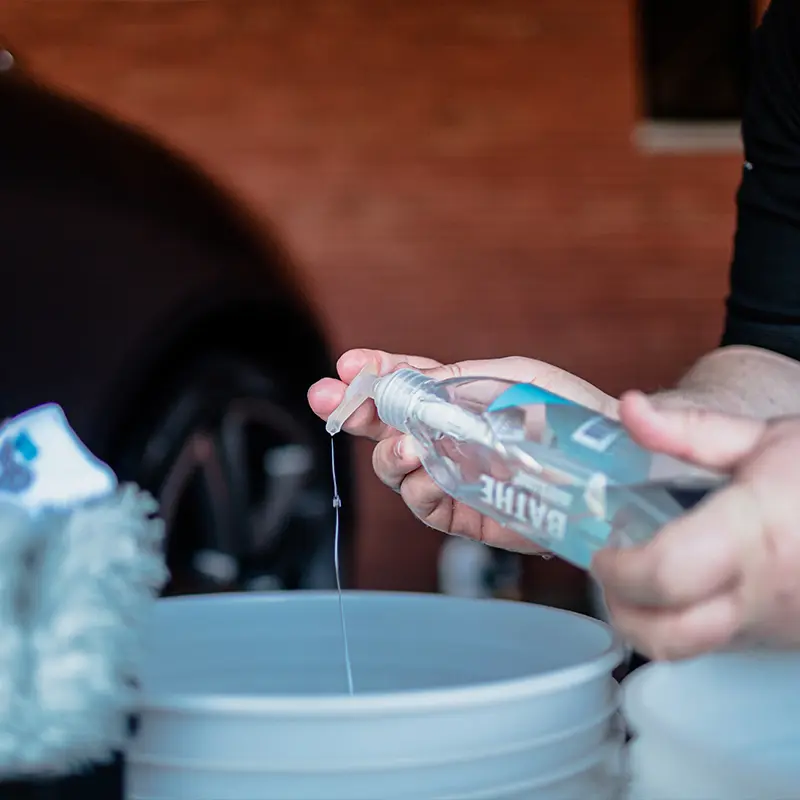
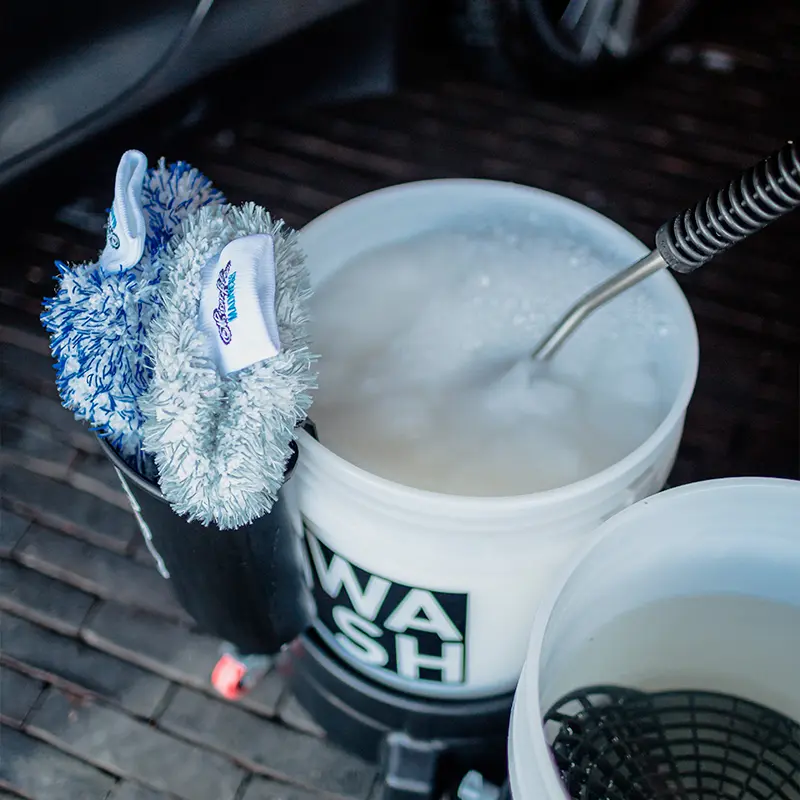
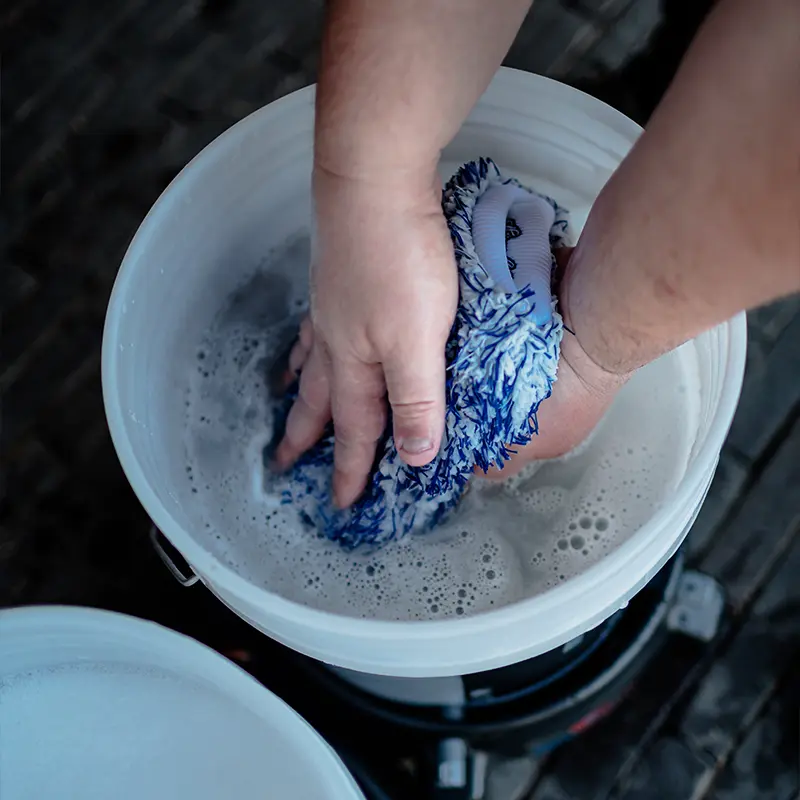
04 | Shampoo
Time to put on your wash mitts!
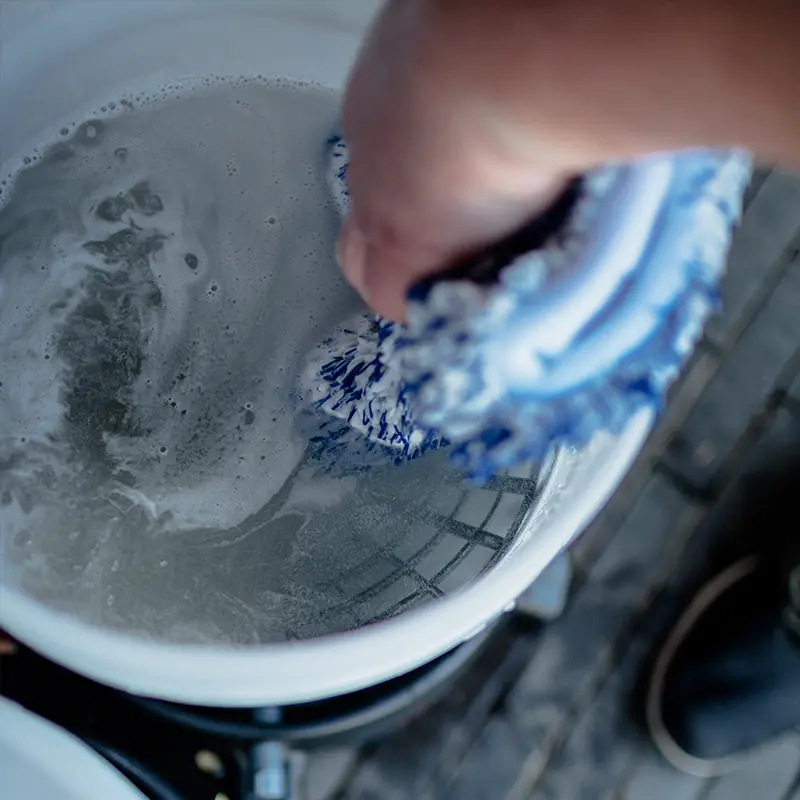
Have 2 buckets ready: 1 for your shampoo and 1 for rinsing your wash gloves.
Add shampoo and mix well.
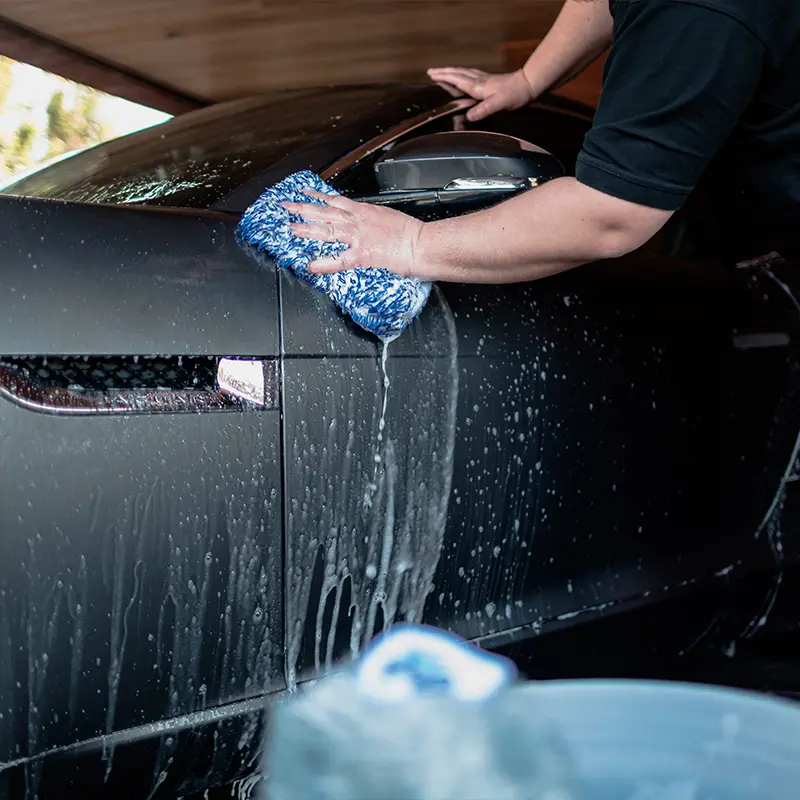
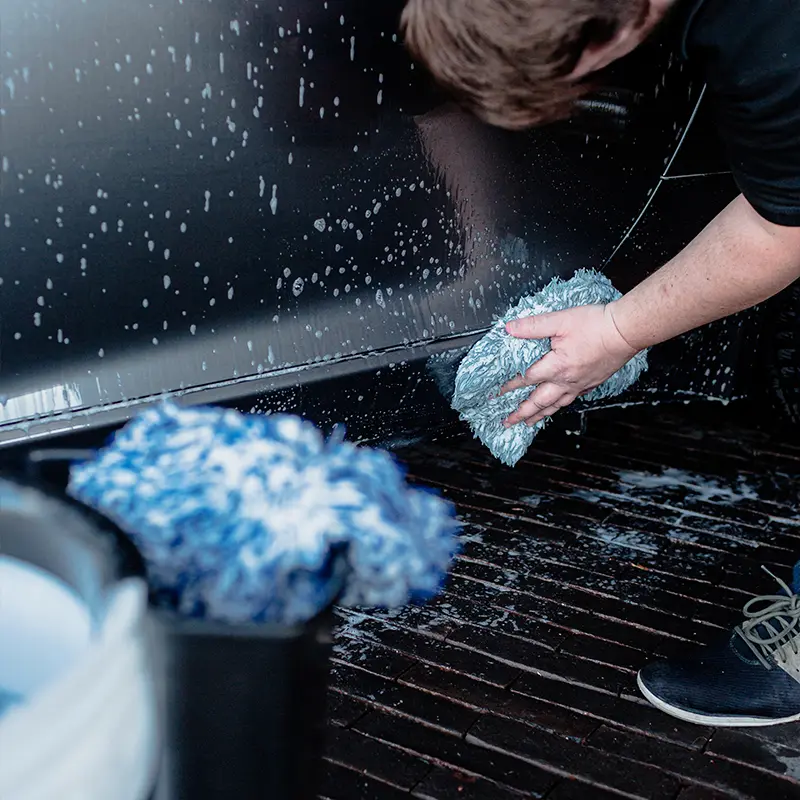
Wash in long, straight strokes, panel by panel, starting with the roof and working down. The side skirts, front and rear bumpers and strokes are done last.
We keep our brushes & mitts clean and close by in our Buckanizer. Also think about which shampoo is best for your car, there are different types so be sure to read the description before buying.
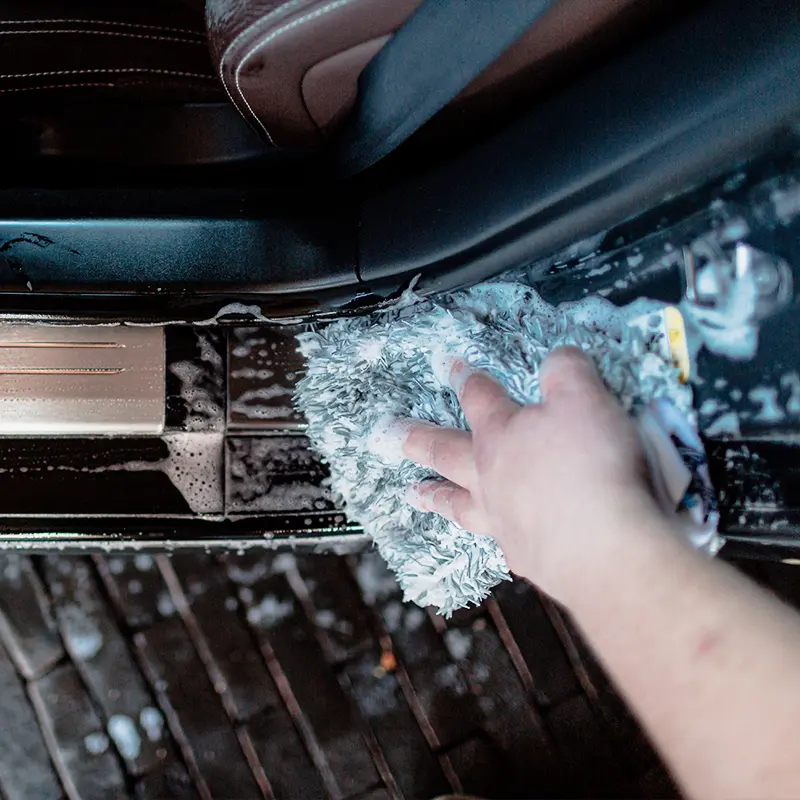
Pro Tip: Use 2 different colored wash mitts, one for the main panels of your car and another for the side skirts, front and rear bumpers, and door sills like we show in the photos
Pro Tip: Each time you rinse your wash mitt in the rinse bucket, use your fingers to scrub off the sand and dirt, or place a Grit Guard in your bucket to scrub against.
This way the dirt falls to the bottom and stays there, and it doesn't find its way back into the paint of the car. Then dip back into your wash bucket with shampoo and get back to work with a clean wash mitt!
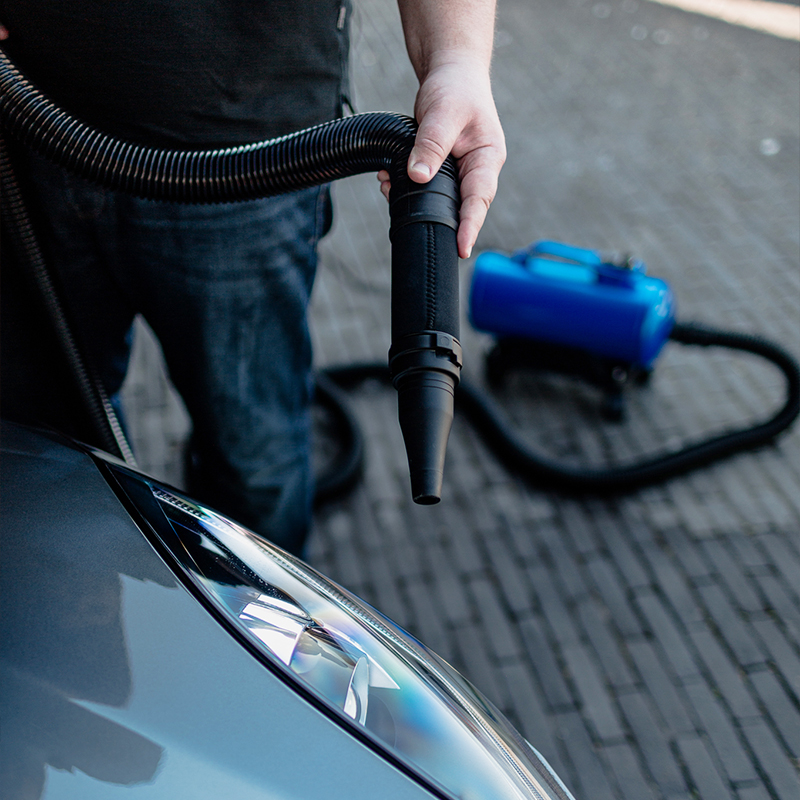
05 | Safe drying
Remain cautious, especially at this point.
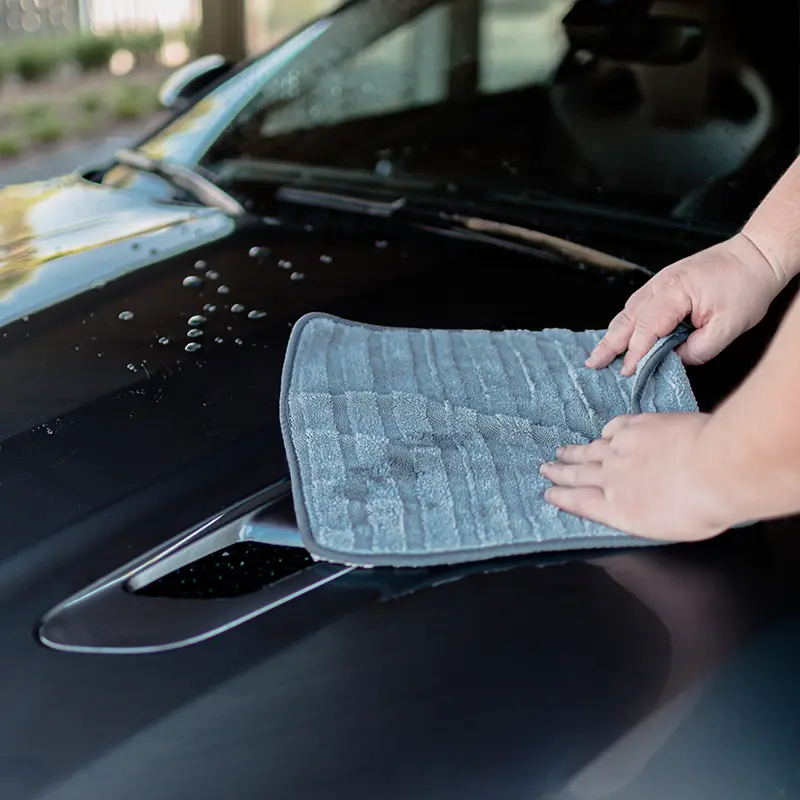
Using a quality microfiber drying towel, work in long strokes, panel by panel, roof first and working your way down, starting with the main panels and finishing with the dirtier areas and door jambs.
The safest way is with a blow dryer. For all the benefits, tips and tricks see Safe Drying.
Pro Tips:
The two most common techniques for using a drying towel are to fold it into smaller pieces and rub it in long strokes without pressure, once one part of the towel is too wet, switch to a dry part. Or, as shown below, lay the towel flat and drag it across the paint of the car - covering a larger area. Drying mitts are also great for drying door jambs and details.
Find all Drying towels & Drying blowers
06 | The finishing touches
It's protection time.
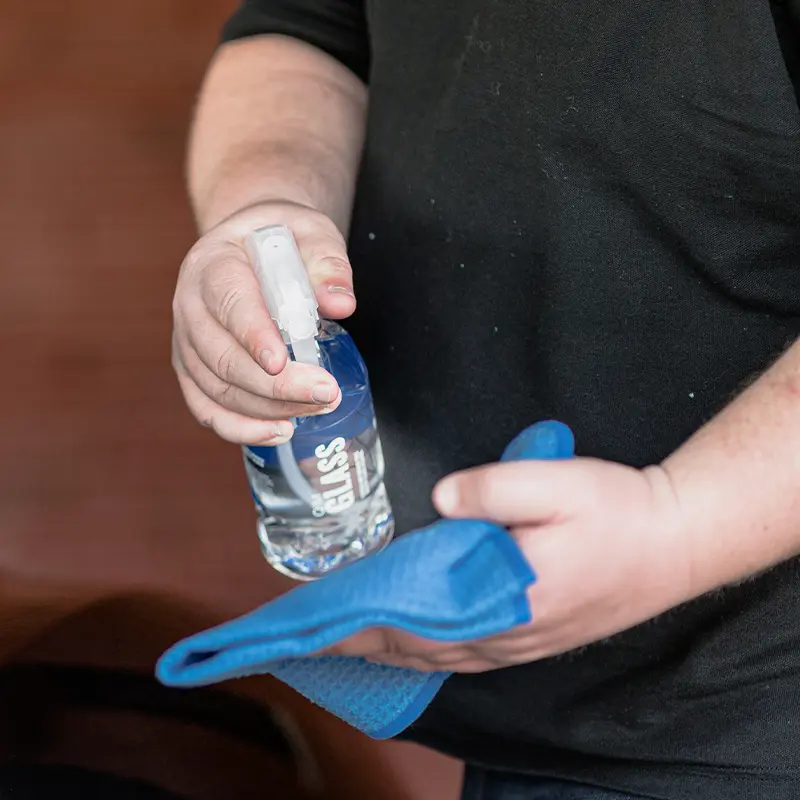
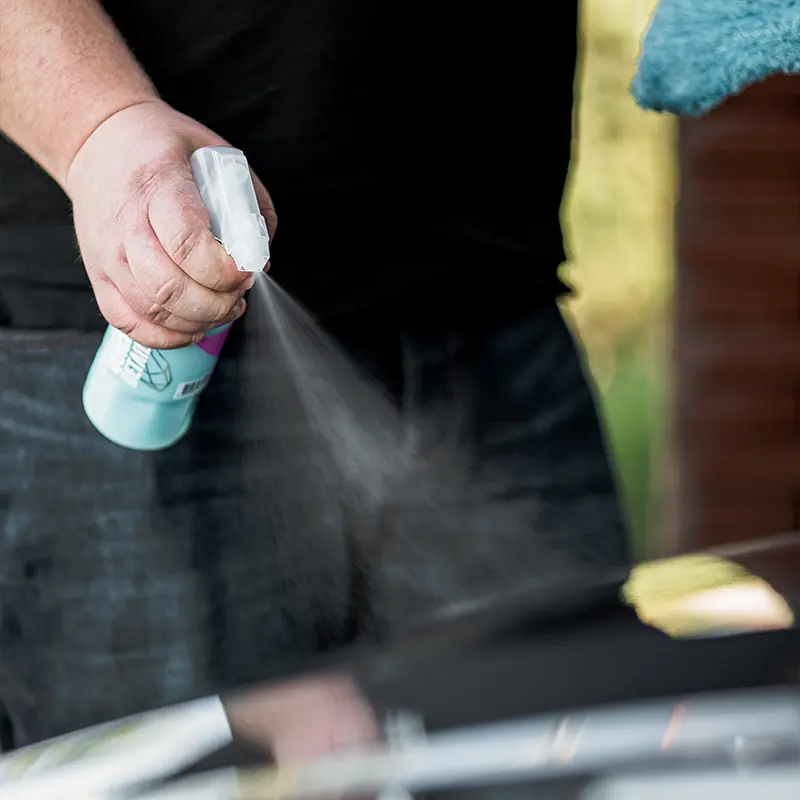
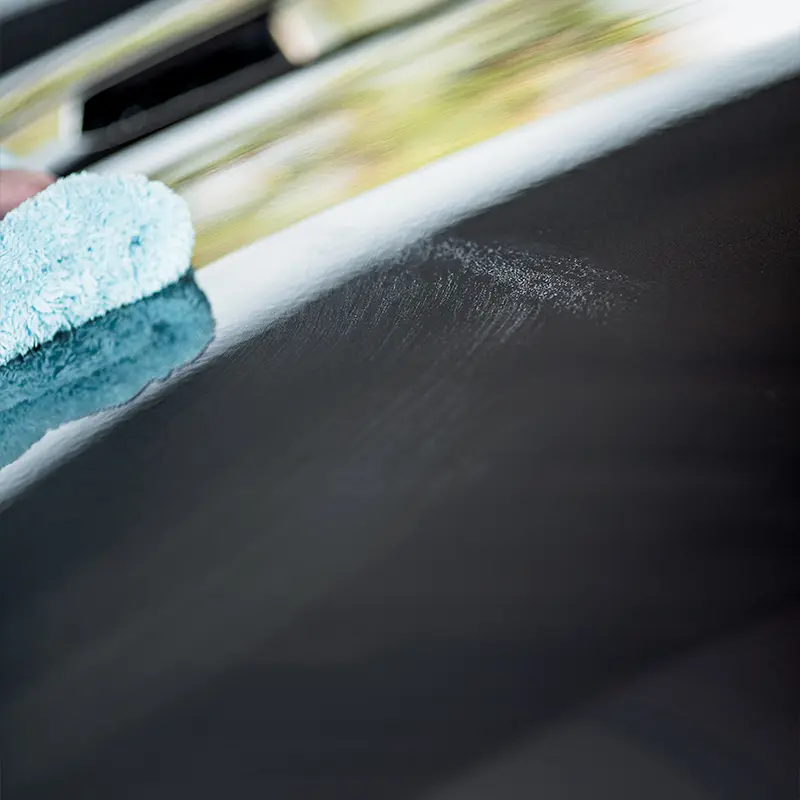
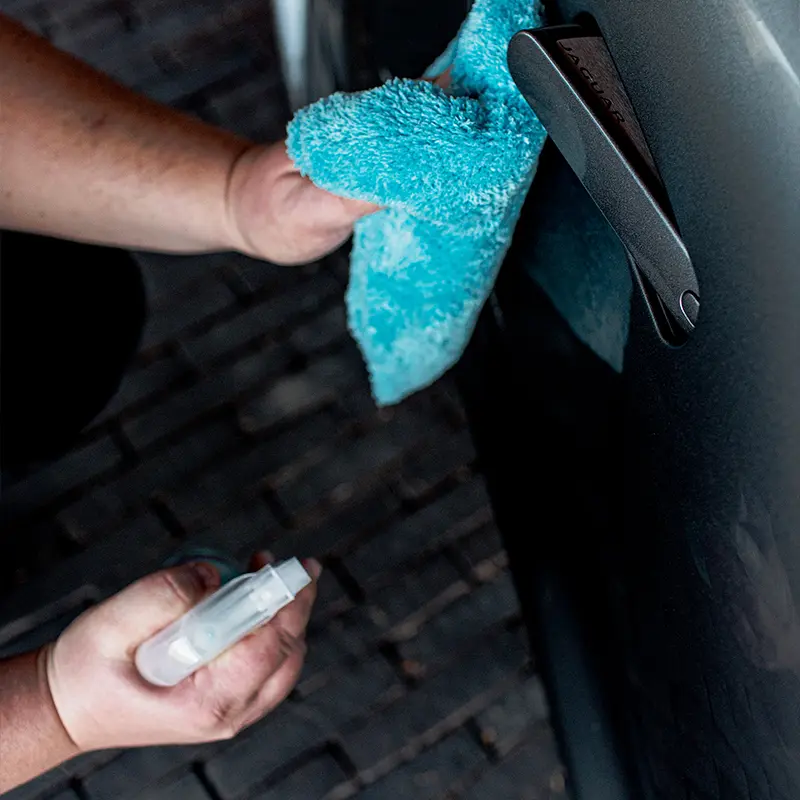
Quick Detailing: Remove any last smudges, fingerprints or dust, leaving a protective layer on your paintwork and ensuring the ultimate shine.
Mist some Quick Detailer over the paintwork and wipe it off with a high-quality microfiber cloth.
Read all the pro tips in Quick Detailing.

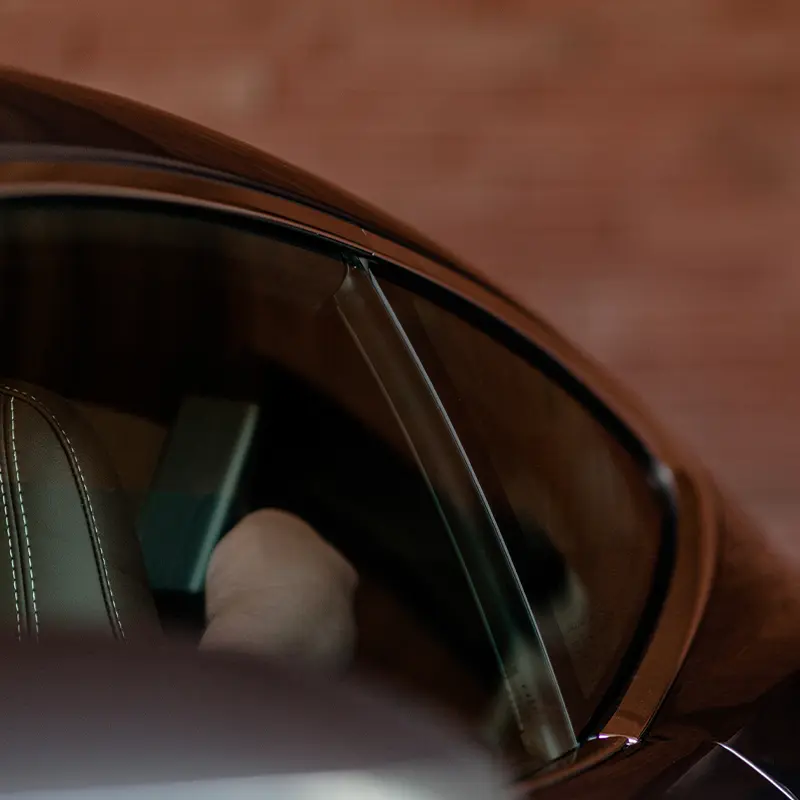
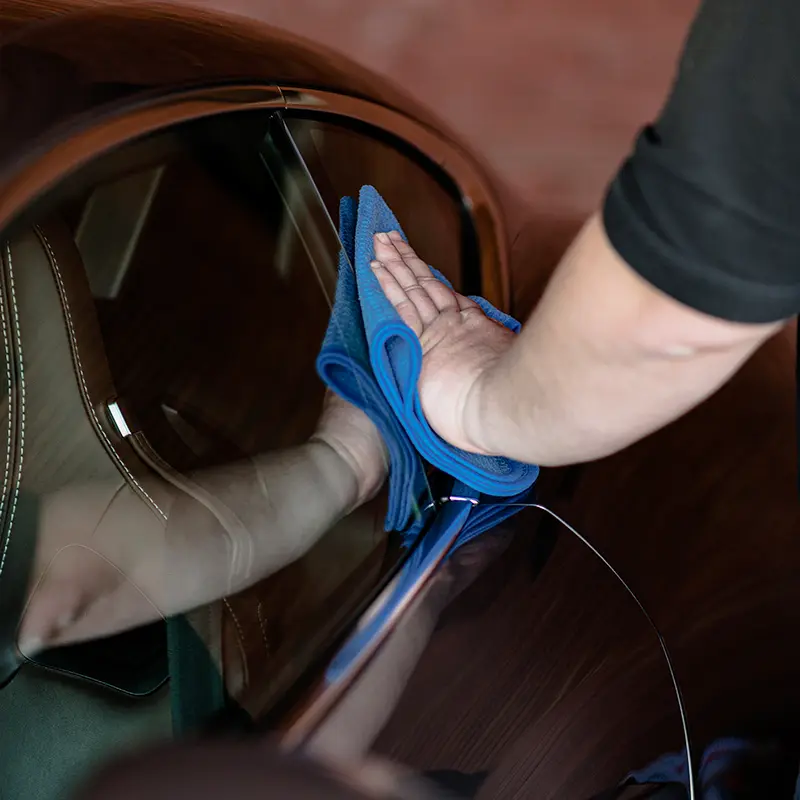
Glass cleaning: Spray sufficient product onto a glass waffle cloth, rub in and loosen the dirt, rub afterwards with a 2nd dry glass waffle cloth, work one window at a time, do not let it dry by itself.
Do you see streaks? Go again, working quickly to rub it in. Rub in different directions inside and out so you can immediately see where any remaining streaks are.
Brake discs: After washing, drive the car forwards and backwards and brake gently, this way you remove the moisture film on the metal brake discs and they do not get the chance to oxidize. Not only does it look good right away, you also avoid the rusty dust on the rims after the first time braking.
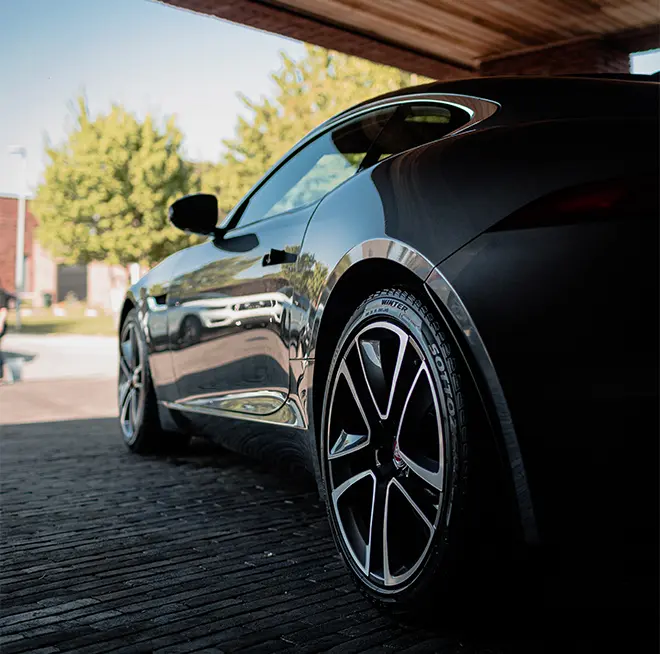
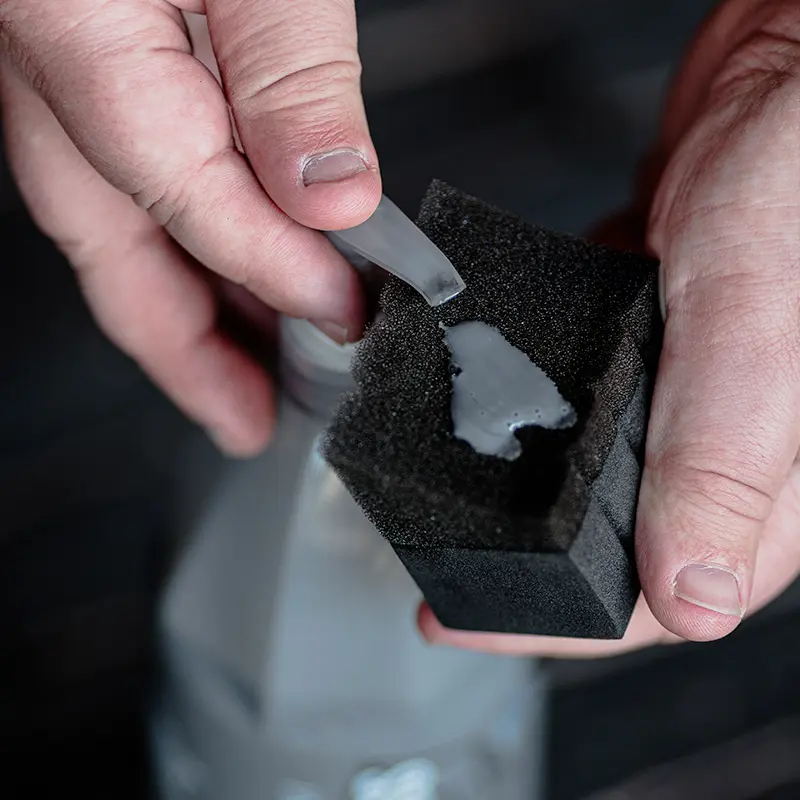
Tire Dressing: Give your tires a deep black color & make them look new by saturating the porous surface of the rubber & filling in the microscopic gaps. Personally, we prefer a satin look. It really adds that finishing touch that makes you stand out as a true enthusiast!
Apply with an applicator pad and go around the tire wall. Let dry briefly and wipe if necessary for a nice even finish